 |
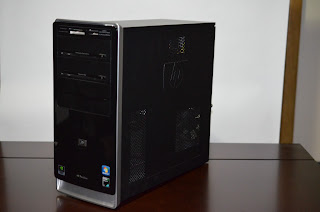
| PC being used as an example is an HP pavilion with a 300w power supply |
 |
| First, remove the side panel |
 |
| All power connections discontected |
 |
| Remove the screws fastening the current power supply. Keep these as you will use them to mount the new power supply. |
 |
| There may be an additional latch inside the case that will need to be depressed to free the power supply. It may take a little wiggling to free the power supply. |
 |
| You are half way done, set your old power supply aside |
 |
| The new power supply will be a Corsair CX430 |
 |
| Your current motherboard may have a 4pin ATX12v socket. Your new power supply will probably have an 8 pin EPS/ATX12v cable |
 |
| This cable will either be 2 independent 4 pin cables, or it will latch together using hooks as shown here. |
 |
| Plug in all power cables that you removed earlier (2 mobo, 1 hard drive, 1 dvd drive in this case) and replace the side panel Congratulations, you have upgraded your power supply. |


No comments:
Post a Comment